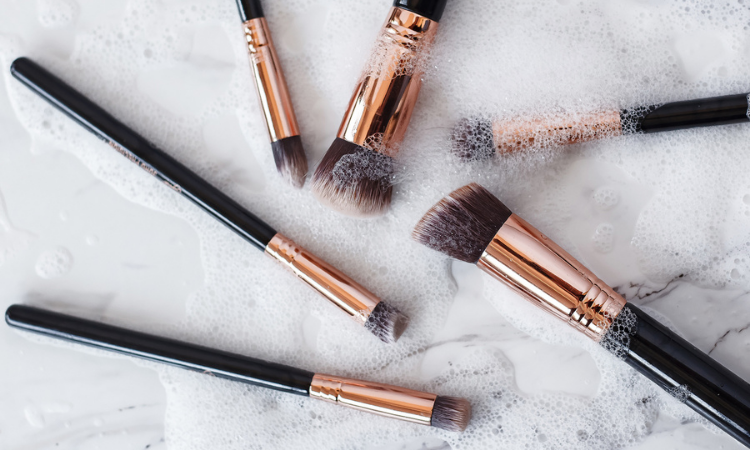
Did you know that one of the most common reasons for skin breakouts and acne is dirty makeup brushes and sponges? Well yeah, if you’ve been using your makeup applicators without washing them correctly, please stop. Can you imagine the number of germs and bacteria that live on those unclean brushes and sponges? Cleaning them is no rocket science and is actually pretty easy. Check out this simple and helpful guide on how to clean your makeup brushes and sponges the right way!
Related: These Skincare Ingredients Make The Worst Couples, So Break Them Up
Steps to clean your makeup brushes

Gather ’em all ’cause it is time for a good cleaning and scrubbing session. After all, anything you put on your face should be squeaky clean and free of any germs and bacteria. Follow these steps and get it done the right way.
1. Get your brushes wet
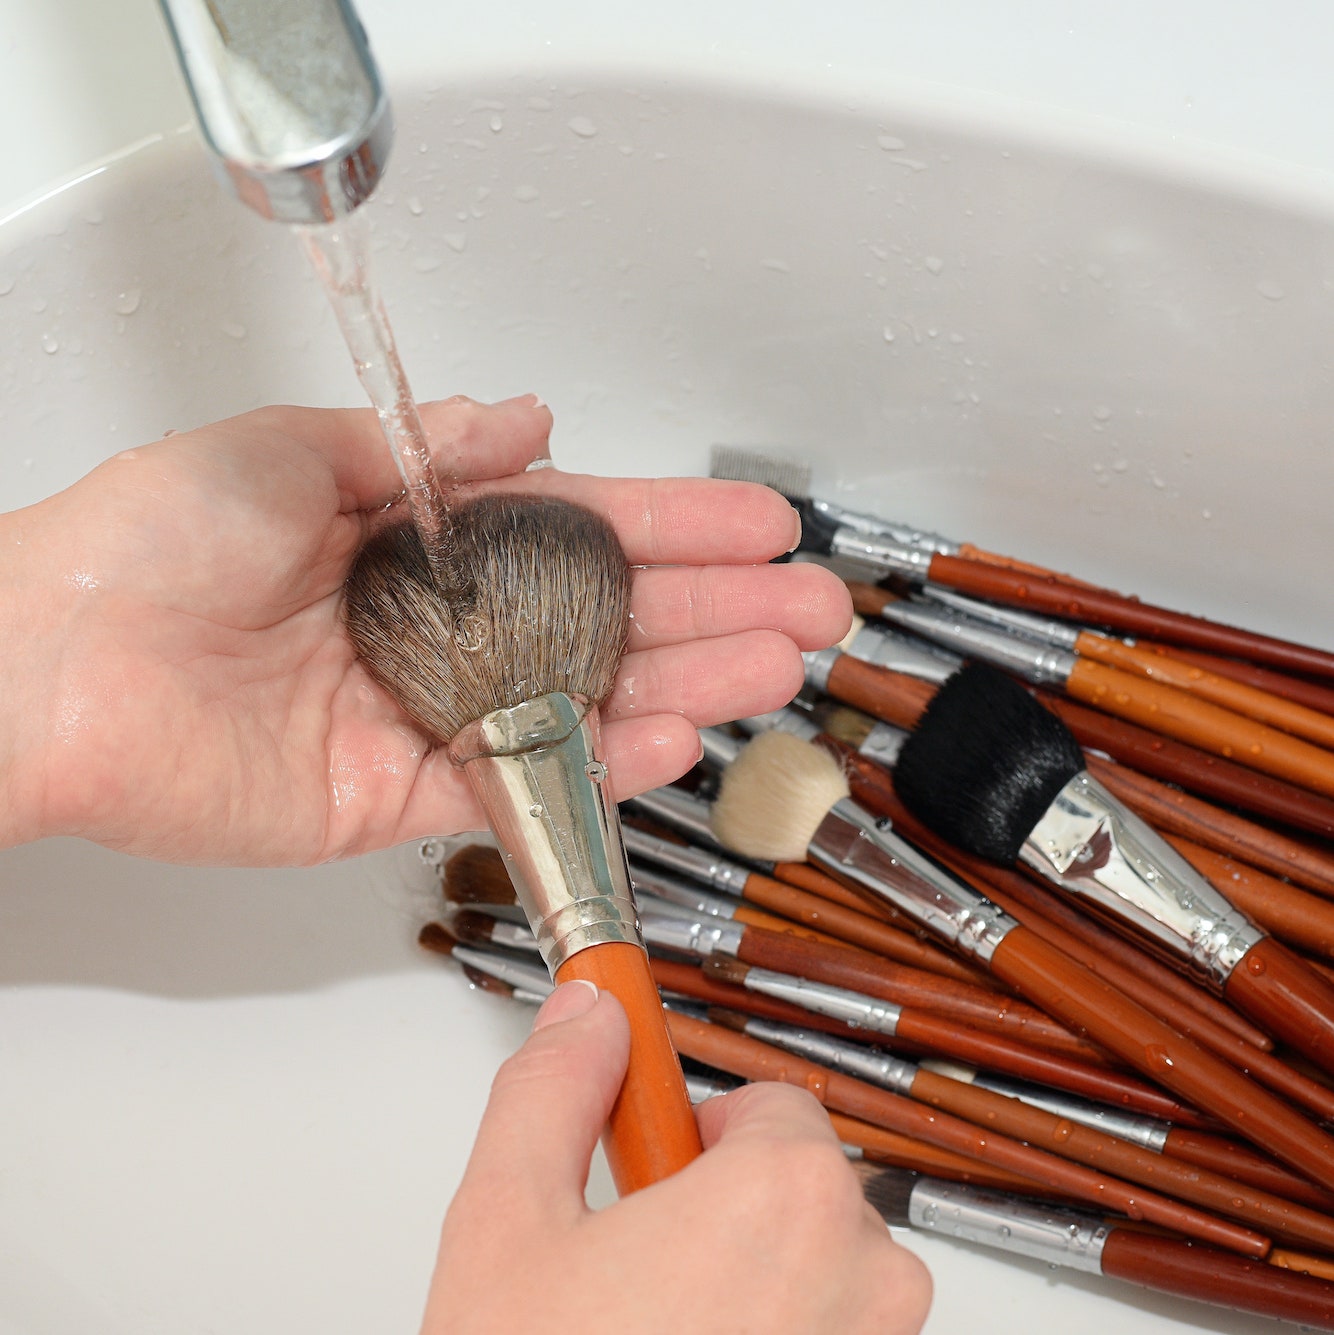
Take your brushes one at a time and run them under lukewarm water to get them nice and wet. Gently brush with your finger to make sure that all the bristles are wet and try not to put the head of the brush directly under the water. You just want to clean the brush and not ruin the glue or the material of the brush.
2. Wash them
Take a small to medium bowl and add about a tablespoon of a gentle cleanser and lukewarm water. Mix well, dip the bristles in water and swirl them around. Once you see that the water has started to get dirty, gently massage and clean the bristles and take them out of the bowl.
3. Rinse the brushes
Turn on the tap and start rinsing your brushes with lukewarm water. Use your fingers gently to make sure you are not pulling out the bristles and ruining your brushes.
4. Check for any leftover lather
Once you’ve rinsed the brushes, gently tap the body of the brush on the sink and check for any leftover lather. If you see any, you can rinse once again and tap them to check.
5. Use some conditioner to soften the brushes
Usually, your makeup brushes are soft but you can still opt for a little extra conditioning after cleaning them. Massage them gently with a drop or two of a gentle conditioner and let them sit for about a minute. Rinse them with lukewarm water and wring them to get the excess water out.
6. Air dry
Place a soft towel on a surface and lay your brushes on it. Using a paper towel, dab your brushes gently to squeeze off the excess water. Turn them around to make sure you’ve gotten all the water out. Place them in a holder or in a standing position so they can air dry.
Steps to clean your makeup blenders/sponges

Washing your makeup blenders or sponges every week or after two to three uses is extremely important. They can hold on to dirt, bacteria, and buildup which isn’t healthy for your skin. Here’s how to clean your makeup sponges and blenders properly.
1. Wet the makeup applicator
Using lukewarm water, squeeze and wet the makeup blender and sponges. Squeeze them till they are completely wet and have released some of the leftover product on them.
2. Soak the blenders/sponges
The next step will ensure that your blenders/sponges are completely clean and get rid of product buildup and germs properly. In a medium bowl, add some hot water and a tablespoon of a gentle cleanser. Mix it well and squeeze your sponges a little so they can hold the mixture well. Now, let them soak for about five to ten minutes as this will get rid of all spots and stains on your applicators.
3. Scrub, scrub, scrub
Take out your makeup applicators and give them a nice scrubbing with some more cleanser till you can see that they are back to their original colour. Keep squeezing gently to make sure you get all the leftover makeup out.
4. Rinse
Once you are done with all the scrubbing action, hold your sponges and blenders under lukewarm water and squeeze in between to get them soaked with clean water. Keep doing this till you see that the water is running clear and the applicators look clean. Wring them and place them to dry.
5. Air dry them
Using a clean and soft towel, squeeze your makeup applicators to get rid of all the water. Place them on a fresh towel on a surface and let them air dry.
Tips to keep your brushes and sponges/blenders in good shape
Now that you have done all the cleaning and scrubbing, here are some quick tips to keep your makeup applicators clean and in good shape for a long time.
1. Don’t use dish soaps
Dish soaps or soap bars are usually harsh and full of chemicals. So, skip those when you are cleaning the brushes and opt for gentle cleansers only.
2. Wash your makeup applicators on a weekly basis
Don’t be lazy and keep using dirty makeup brushes and sponges. This can lead to a lot of skin problems including breakouts, infections, acne, and inflammation. Give your applicators a weekly washing session to keep them clean.
3. Toss your brushes when they start thinning out
There’s usually not a time limit on when you should throw out your brushes. If you are using high-end brushes, they can easily last you for a year or two. And if you are using drugstore brushes, they are good to go for about seven to eight months. But just to be sure, toss them out when they start thinning out or turning rough.
4. Change your makeup sponges every four to five months
Brushes can last longer, but even if you are using a high-quality makeup blender, you’ll have to change them sooner. Unlike brushes, you can’t use sponges for a year. It is best to chuck them out every four to five months and store the new ones in a cool and dry place.
5. Don’t share your makeup applicators
Sharing makeup brushes and sponges is a complete and big NO! This can very easily spread infections even after continuous washing and cleaning. Keep your makeup applicators separate and avoid sharing them with anyone.
Featured Image Source
Related: 10 Makeup Brushes You Need And How To Use Them

 Web Stories Title


